Owning a home comes with its fair share of responsibilities. While some repairs require a professional’s touch, many everyday fixes can be done by anyone with a bit of patience and a willingness to learn. Tackling minor home repairs on your own can save you time and money, not to mention the satisfaction that comes with knowing you did it yourself. In this guide, we’ll cover five common home repairs that you can confidently handle, no need for expensive tools or a pro. Ready? Let’s get started!
1. Fixing a Leaky Faucet
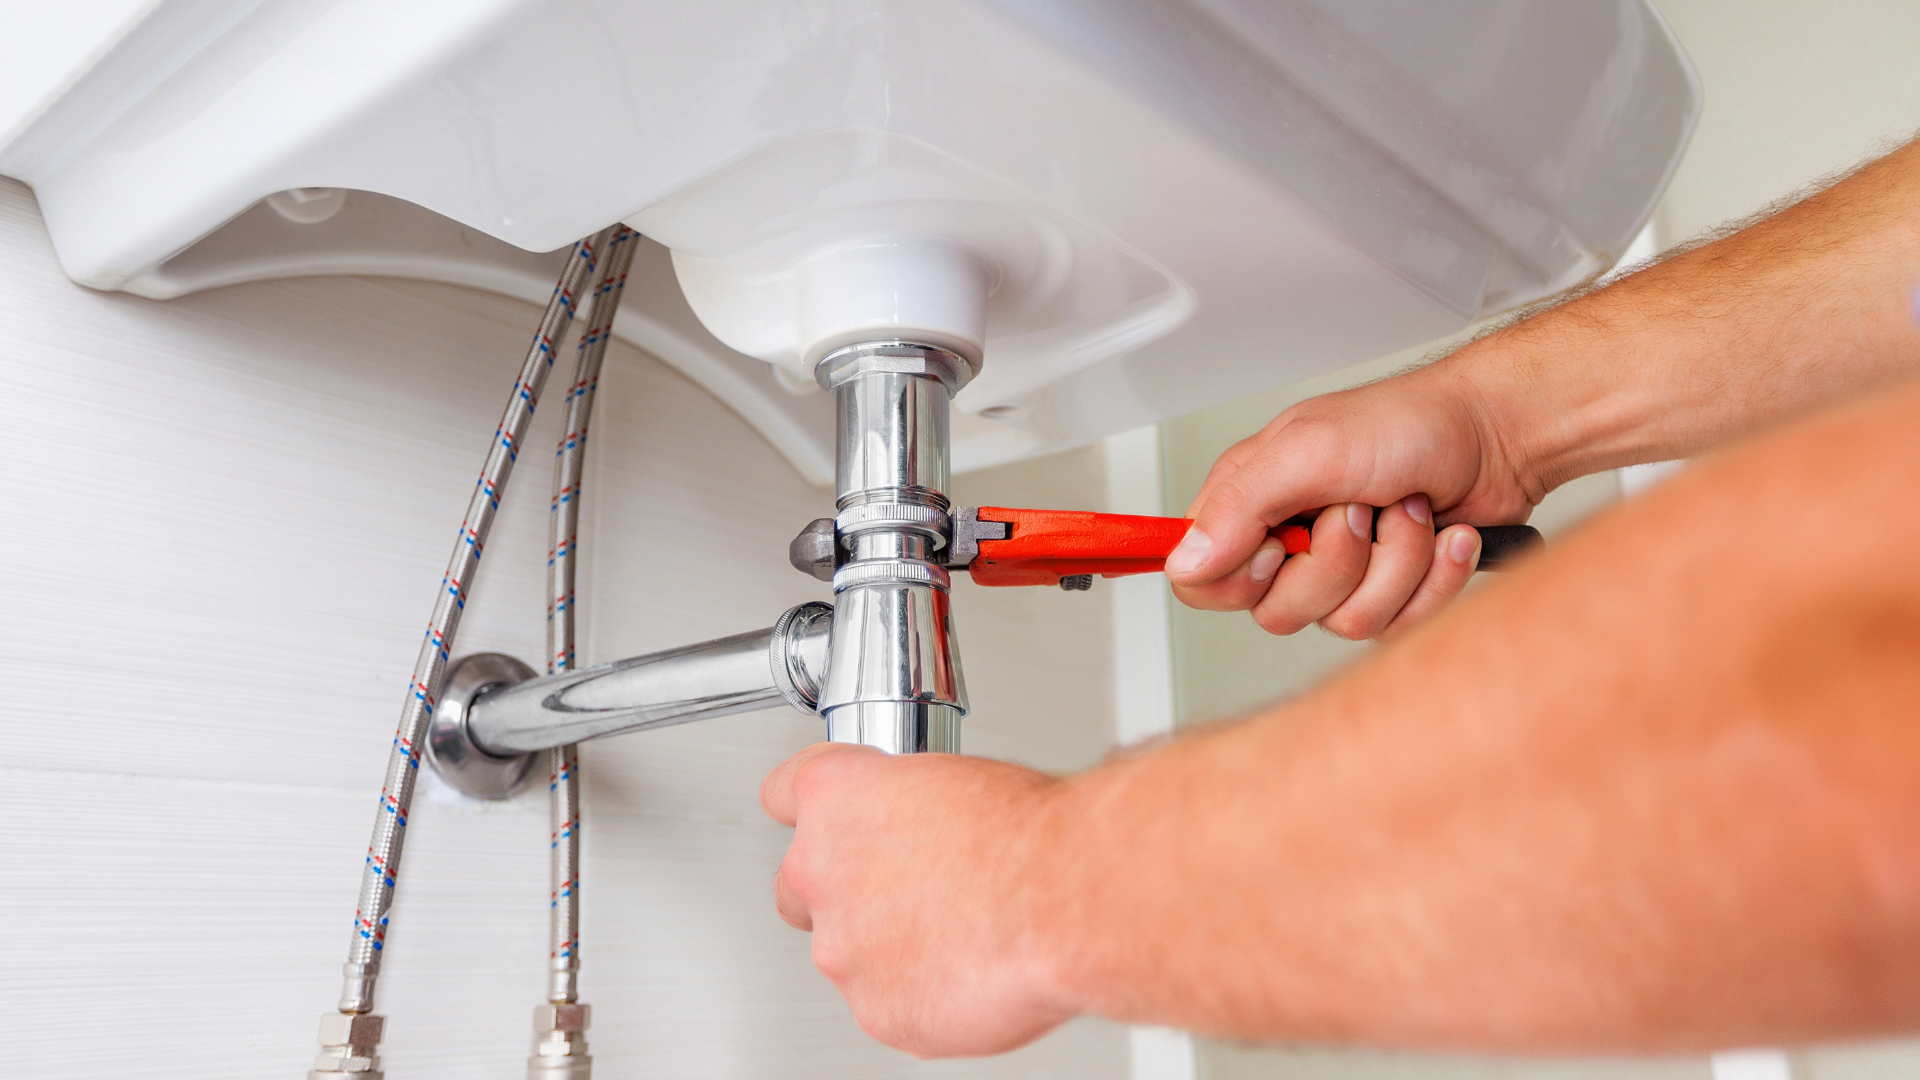
One of the most common home annoyances is a leaky faucet. That constant drip, drip, drip can quickly drive anyone crazy — not to mention, it wastes water and increases your bill. Fortunately, fixing a leaky faucet is one of the easiest DIY repairs around.
What You’ll Need:
- Adjustable wrench
- Flathead screwdriver
- Replacement washers or cartridge (depending on your faucet type)
Steps:
- Turn off the water supply: Always start by turning off the water supply under the sink. This prevents any accidental flooding while you work.
- Disassemble the faucet: Use a flathead screwdriver to carefully remove the handle. Then, with an adjustable wrench, loosen the nut securing the faucet.
- Inspect the washer or cartridge: The most common culprit for a leaky faucet is a worn-out washer or cartridge. Once you have access to the inner workings, examine these parts for wear and tear.
- Replace the washer or cartridge: Head to your local hardware store and match your part with a new one. Reassemble the faucet, turn the water supply back on, and check for leaks.
No more drips!
2. Unclogging a Slow-Draining Sink
A slow-draining sink is another frequent issue in households, especially in the kitchen or bathroom. While it can be tempting to reach for chemical drain cleaners, these can often do more harm than good over time, damaging pipes and creating bigger problems. Instead, try these simple steps.
What You’ll Need:
- Plunger
- Baking soda and vinegar
- Boiling water
- Drain snake (optional)
Steps:
- Plunge the drain: Start by using a standard plunger. This can help dislodge any small blockages in the pipes.
- Use the baking soda and vinegar method: Pour a cup of baking soda down the drain, followed by a cup of vinegar. Let it fizz and sit for about 15 minutes.
- Flush with boiling water: After the baking soda and vinegar have had time to work, flush the drain with a kettle of boiling water.
- Snake the drain: If the water is still slow to drain, you may need to use a drain snake to remove larger clogs. Insert the snake into the drain and slowly twist as you push it further down. Once you feel resistance, slowly pull it back out, removing the clog.
In no time, your sink will be draining like it’s brand new!
3. Repairing a Running Toilet
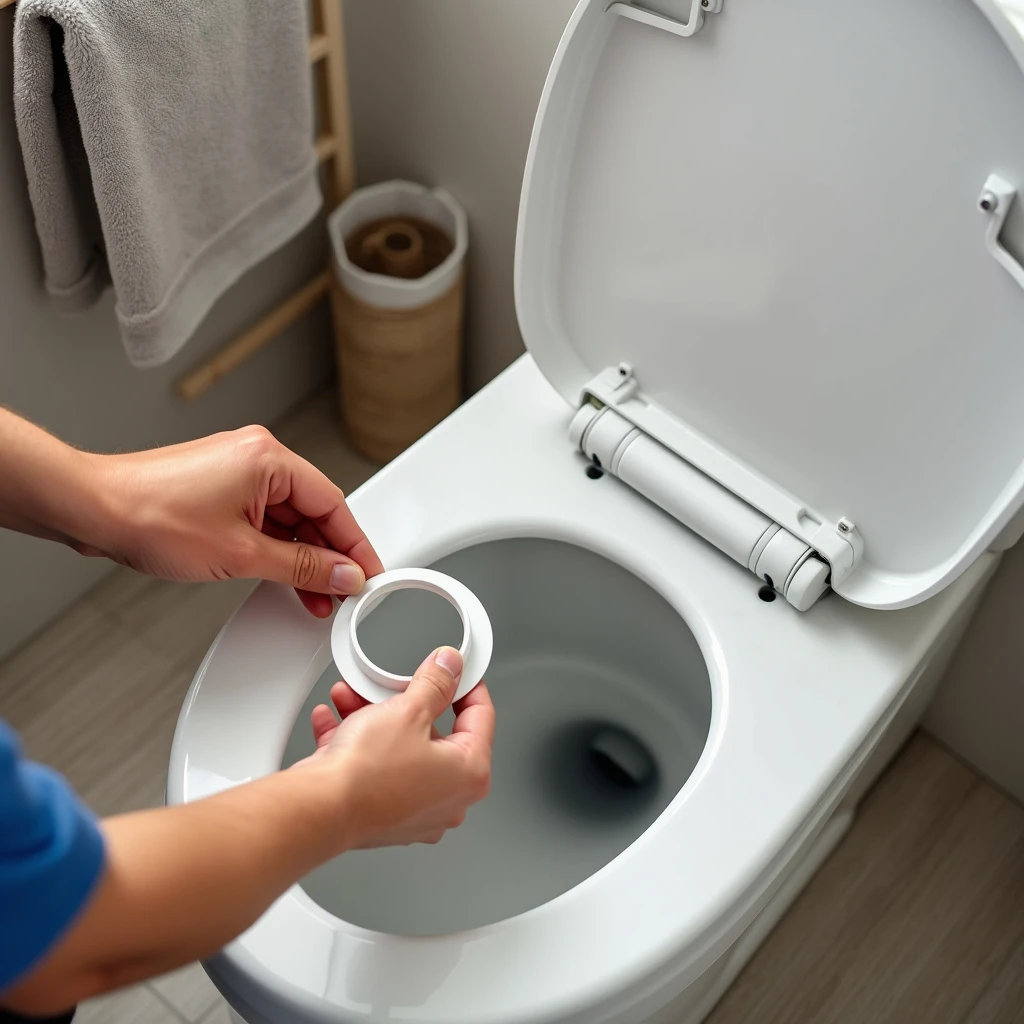
A constantly running toilet isn’t just annoying, it can also waste a significant amount of water. The good news? This is another repair that’s surprisingly simple to do yourself.


What You’ll Need:
- Replacement flapper
- Adjustable wrench
- Toilet repair kit (optional)
Steps:
- Inspect the flapper: Most running toilets are caused by a worn-out or misaligned flapper (the rubber piece that controls water flow from the tank to the bowl). Lift the lid of your toilet tank and check if the flapper is properly sealing the flush valve.
- Replace the flapper if necessary: If the flapper looks old or damaged, simply remove it and replace it with a new one from a hardware store. Most flappers are inexpensive and easy to install.
- Adjust the water level: Sometimes, the water level in the tank is too high, causing the toilet to run continuously. Adjust the float so the water level is about an inch below the top of the overflow tube.
These simple steps should stop your toilet from running, saving you both water and frustration.
4. Patching a Small Hole in the Wall
Whether it’s from hanging pictures, moving furniture, or kids being kids, small holes in the wall are inevitable. Luckily, fixing them is a quick DIY project that anyone can do.
What You’ll Need:
- Spackle or drywall compound
- Putty knife
- Sandpaper
- Paint (to match your wall color)
Steps:
- Clean the area: Before you begin, make sure the area around the hole is clean and free of debris. You don’t want any dust or loose drywall interfering with your patch.
- Apply spackle: Using a putty knife, apply a small amount of spackle over the hole. Smooth it out evenly, ensuring it blends with the surrounding wall.
- Let it dry: Give the spackle ample time to dry, typically a few hours depending on the size of the hole.
- Sand it down: Once the spackle is dry, lightly sand it until the area is smooth and level with the rest of the wall.
- Touch up with paint: To finish, paint over the patched area, and voilà, no more unsightly holes!
5. Replacing a Broken Light Switch
A broken or malfunctioning light switch is not only inconvenient, but it can also be a safety hazard. Fortunately, replacing a light switch is a fairly simple task that you can complete in less than an hour.
What You’ll Need:
- New light switch
- Screwdriver
- Voltage tester
- Wire stripper (optional)
Steps:
- Turn off the power: Safety first! Head to your circuit breaker and turn off the power to the switch you’ll be working on. Use a voltage tester to ensure there’s no electrical current running through the switch before you begin.
- Remove the old switch: Use a screwdriver to remove the cover plate and then unscrew the switch from the wall. Carefully pull it out and note how the wires are connected.
- Install the new switch: Attach the wires to the new switch in the same way they were connected to the old one. Typically, there will be a ground wire (green or bare copper) and two other wires (black and red or black and white). Use a wire stripper if needed to expose a fresh section of wire.
- Secure the switch: Screw the new switch into place and reattach the cover plate.
- Turn the power back on: Head back to your circuit breaker, turn the power back on, and test your new switch.
And just like that, you’ve handled an electrical repair with confidence!
Final Thoughts: You Can Handle These Simple Repairs
Home repairs don’t have to be daunting, expensive, or time-consuming. With the right tools and a bit of patience, you can tackle a wide range of common household issues without ever needing to call a pro. Not only will you save money, but you’ll also gain the satisfaction of knowing you’ve kept your home in tip-top shape all on your own.
The key to successful DIY home repairs is preparation. Always ensure you have the necessary tools on hand, take your time, and, when in doubt, don’t hesitate to consult online tutorials or guides. Who knows? You might just find that fixing things around the house becomes one of your favorite hobbies.
So, next time a faucet leaks, your toilet runs, or a hole appears in the wall, you’ll know exactly what to do — and you’ll be able to do it yourself!


